
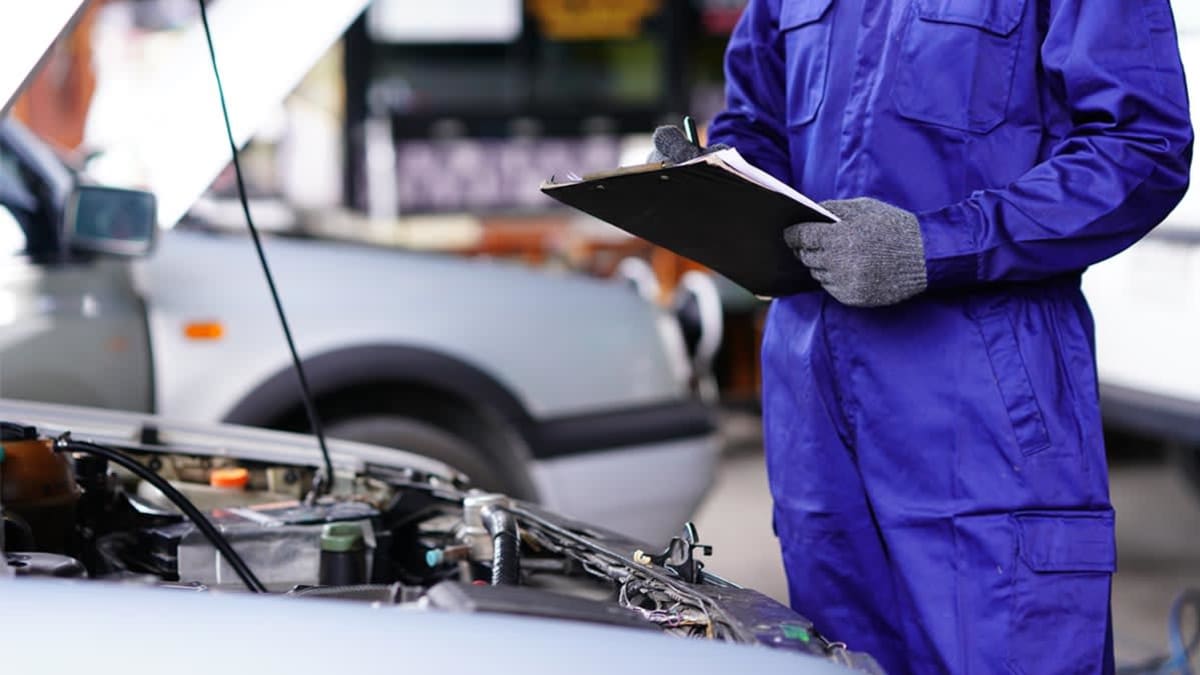
Navigating the pre-owned automotive market can be a highly rewarding financial strategy, allowing you to bypass the steep depreciation curve that hits brand-new vehicles the moment they leave the showroom lot. However, shopping for a used car also introduces a distinct layer of risk. Sellers, whether they are private parties or independent dealerships, are naturally incentivized to present their inventory in the best possible light, occasionally masking mechanical flaws, past collision damage, or deferred maintenance items.
Protecting your investment requires moving past a basic visual appreciation of a clean interior or shiny exterior paintwork. You must approach the transaction with a systematic, objective inspection protocol. A comprehensive physical evaluation will either validate the seller claims, provide the leverage needed to negotiate a fair market price, or warn you to walk away from a potential mechanical disaster. This definitive guide details every critical step of the pre-purchase inspection process.
1. Initial Document Verification and Vehicle History
Before picking up any mechanical tools or scheduling a meeting with a seller, you must verify the legal and historical foundation of the automobile. A physical inspection is meaningless if the vehicle paperwork is fraudulent or compromised.
The Vehicle Identification Number (VIN)
Every modern automobile features a distinct seventeen-character alphanumeric identifier stamped into several key structural locations. Locate the VIN plate at the base of the driver-side windshield cowl and ensure it matches the VIN printed on the vehicle registration card, the insurance paperwork, and the physical title certificate. Furthermore, open the driver door and check the federal safety compliance sticker located on the door jamb. Any discrepancy between these numbers points to a serious legal issue, indicating a potential stolen vehicle or a major structural rebuild utilizing parts from donor cars.
Title and Maintenance Logs
Examine the physical title certificate closely. Look for branding labels such as Salvage, Rebuilt, Junk, or Flood. A branded title dramatically reduces the vehicle resale value and signals that the car was previously declared a total financial loss by an insurance company. Additionally, ask the seller for a comprehensive folder of physical maintenance receipts. A private owner who retains organized, dated receipts for routine oil changes, transmission fluid flushes, timing belt replacements, and safety inspections demonstrates responsible vehicle stewardship.
2. Comprehensive Exterior Structural and Paint Analysis
The primary objective of the exterior inspection is to identify hidden structural body damage resulting from a major collision. Paint can be polished to hide structural flaws, but metal panels and structural tolerances rarely lie.
Execute a methodical loop around the vehicle exterior, evaluating the following components:
-
Panel Alignment and Gaps: Analyze the narrow gaps separating the doors, the front hood, and the rear trunk lid from the main body panels. In a vehicle that has never suffered a major impact, these body gaps will be completely uniform in width from top to bottom. If a gap pinches close at one end and widens at the other, it indicates underlying structural shifting or poorly executed body panel replacement.
-
Paint Uniformity and Overspray: Inspect the paint color under bright, natural daylight. Look along the side of the panels at a shallow angle to check for texture variations, wavy reflections, or patches of orange peel texture that indicate aftermarket body repair. Open the doors and examine the rubber weatherstripping for trace particles of colored overspray, which confirms recent paint booth intervention.
-
Rust and Oxidation Testing: Inspect the lower rocker panels, the lower edges of the passenger doors, and the interior perimeter of the wheel arches for bubbling paint, which points to deep metal oxidation occurring beneath the surface layer.
3. Under-the-Hood Mechanical Appraisal
The engine bay holds the vital mechanical components that dictate vehicle longevity. You do not need to be a professional mechanic to identify blatant signs of advanced mechanical wear or neglect.
Ensure the engine is completely cold before starting this phase of your evaluation:
-
Fluid Quality Metrics: Pull the engine oil dipstick and wipe it on a clean rag. The oil should display a clear amber or dark brown shade. If the oil looks like milky coffee or features white sludge deposits on the underside of the oil fill cap, it reveals a blown head gasket, meaning coolant is mixing with the oil, which requires a complete engine rebuild. Next, look into the translucent coolant overflow tank. The fluid should be vibrant pink, green, or orange, free of floating oil slicks or gritty debris.
-
Belts and Hoses: Inspect the primary serpentine drive belts for visible dry-rotting, deep cracks, or frayed edges. Squeeze the major radiator hoses; they should feel firm yet pliable. If a hose feels brittle, crunchy, or excessively soft and gummy, it is near failure.
-
Battery and Electrical terminals: Check the battery casing for cracking or swelling, and inspect the metal terminal posts for heavy accumulations of acidic white or green corrosive powder.
4. Under-Carriage, Suspension, and Tire Evaluation
A car safety and handling characteristics rely completely on the components hidden beneath the chassis frame. Turn the front steering wheel completely to one side to open up a clear view into the front suspension assemblies.
Tire Tread Uniformity
Examine all four tires closely. Do not simply measure the center tread depth; look across the entire width of the tire tread footprint. If the outer or inner edge of a tire is worn down completely smooth while the center remains deep, the vehicle suffers from severe wheel alignment error or bent suspension linkages. Check the tire sidewalls for a small four-digit DOT manufacturing date stamp; tires older than six years are structurally suspect, regardless of remaining tread depth.
Leaks and Bushings
Get down on a mechanic mat and look underneath the front engine cradle with a bright flashlight. Check for active fluid drips. Fresh, bright red puddles indicate a power steering or automatic transmission leak; dark brown or black drips indicate oil pan seal failure. Inspect the round rubber bushings located inside the control arms and the protective grease boots protecting the constant velocity axle joints. If these rubber boots are ripped open, spinning gears will throw grease across the suspension, leading to rapid component failure.
5. Interior Ergonomics and Electrical Feature Audit
The vehicle interior must be checked to confirm that every comfort, safety, and electronic feature operates as intended. Electrical diagnostic issues can be incredibly tedious and expensive to isolate at a commercial garage.
Sit in the driver seat and perform a rigorous electrical check:
-
Dashboard Warning Lights: Turn the ignition key to the accessory position without starting the engine. All warning indicators, including the Check Engine light, the Airbag SRS light, and the ABS system indicator, must illuminate for a brief self-check. Start the engine; every single warning light must extinguish immediately. If a light does not appear during the key-on phase, a dishonest seller may have pulled the internal LED bulb to hide a permanent system fault.
-
Climate Control Functionality: Turn the air conditioning system to its absolute maximum setting. Within sixty seconds, the air exiting the vents must feel ice cold. Next, switch the system to maximum heat to ensure the heater core interfaces correctly.
-
Accessory Systems: Methodically operate every single power window switch, the central locking system, the side-view mirror adjustment toggles, the windshield wiper sprayers, the sunroof glass motors, and the complete audio entertainment system.
6. Dynamic On-Road Performance Evaluation
The road test provides the ultimate confirmation of a vehicle mechanical health, revealing handling anomalies and internal engine behaviors that remain completely invisible while idling in a driveway.
Plan a comprehensive test drive route that incorporates distinct driving environments, including rough surface streets to test suspension damping and a high-speed highway merge lane to evaluate powertrain capacity.
Engine and Transmission Performance
When accelerating away from a stop sign, the power delivery should feel smooth and linear, free of hesitation, sputtering, or engine bogging. If the vehicle utilizes an automatic transmission, the gear changes must execute cleanly without high engine revving between shifts, gear hunting, or sudden metal clunking sensations.
Braking and Steering Tracking
Find a straight, flat stretch of road with no trailing traffic. Rest your hands very lightly on the steering wheel and apply firm, steady pressure to the brake pedal. The vehicle must decelerate in a perfectly straight line. If the car pulls hard to one side, it indicates a frozen brake caliper cylinder or a structural steering failure. Furthermore, any rapid vibration felt through the brake pedal or steering wheel reveals warped brake rotors that must be replaced.
Frequently Asked Questions
What does it mean if I smell a sweet, sugary aroma inside the cabin during a test drive?
A distinct sweet, syrupy scent inside the vehicle cabin, especially when the heating system is active, is a classic indication of a leaking heater core. The heater core is a miniature radiator located deep behind the dashboard structure that routes hot engine coolant to heat the interior. When it develops a pinhole leak, vaporized coolant enters the ventilation ducts. Replacing a heater core is an incredibly labor-intensive repair that frequently requires the complete removal of the structural dashboard assembly, incurring substantial labor costs.
How can I verify if a used vehicle odometer reading has been illegally rolled back or altered?
To detect odometer fraud, look for consistency across multiple data sources. Compare the digital mileage display on the dashboard against the oil change stickers stuck to the windshield corner or the maintenance logs inside the glove box. Next, run a vehicle history report, which logs the exact mileage every time a car undergoes an official state safety inspection, a emissions test, or a title transfer. If the historical log shows one hundred and twenty thousand miles in a past entry, but the current dashboard reads eighty thousand, the odometer has been fraudulently manipulated.
Why should I be suspicious of a used car engine bay that has been meticulously steam-cleaned?
While a clean engine bay looks highly appealing, an impeccably pristine, freshly steam-cleaned engine compartment on a used car should always be approached with caution. Dishonest sellers sometimes pressure-wash the engine block immediately before a potential buyer arrives to completely eliminate visual traces of active, slow-moving oil leaks, power steering fluid seeps, or cooling system crusts. A normal, healthy engine compartment should show a light, uniform layer of dry atmospheric dust; a completely sterile engine bay means you must check the area again thoroughly after an extended test drive to see if fresh oil film has begun weeping out of the gaskets.
Is a minor puff of blue smoke from the exhaust tailpipe upon startup a fatal flaw?
Yes, a distinct puff of blue-gray smoke exiting the tailpipe when the engine first cranks over is a clear warning sign of advanced mechanical wear, specifically worn valve stem seals or degraded internal piston rings. The blue tint indicates that engine lubrication oil is entering the combustion chambers and burning alongside the fuel mixture. Ignoring this issue will lead to fouled spark plugs, failed catalytic converters, high oil consumption rates, and eventual catastrophic engine failure.
What should I check regarding the seat belts during a pre-purchase inspection?
Seat belts are critical primary restraint safety systems that require a careful physical inspection. Pull every seat belt out smoothly to its absolute physical limit. Inspect the heavy fabric webbing for any fraying, structural cuts, or stiffness that could compromise its tensile strength during an impact. Let the belt go; it should retract forcefully and completely on its own without binding. Finally, buckle the belt and give it a sharp, sudden yank to confirm the internal inertia locking mechanism catches instantly.
Why is it beneficial to connect a handheld OBD2 scanner during a used car inspection?
Connecting a portable On-Board Diagnostics (OBD2) scan tool to the port beneath the driver dashboard allows you to read the internal memory of the vehicle central computer. Even if the dashboard Check Engine light is currently dark, the computer may hold pending trouble codes representing intermittent component faults that have not yet triggered the warning light. Furthermore, the scanner can check the internal readiness monitors; if a seller recently cleared the trouble codes to hide a problem, the readiness monitors will display a Not Ready status, telling you that the car has not been driven long enough to re-verify its emissions systems.